“I wish I had a green thumb,” my friend mentioned as three of us chatted about the nitty gritty of home gardening. Previously, I had always thought the same thing. Turns out, anyone can have a green thumb with the slightest bit of effort. Living in Sacramento, we are lucky to be surrounded by local food with the farm-to-fork movement. Restaurants with local food flood the city and the Sacramento Natural Foods Co-op is home to all Sacramento-grown goods. With year-round farmers markets and a festival dedicated to the farm-to-fork offerings, fresh veggies are not hard to come by in this town, though oftentimes they come at an expense.
As much as I respect and adore the Co-op, my last visit had me out the door with a small paper bag holding six mandarins for $12. That was the last time I would let a season pass me by without attempting to grow my own food. I left the Co-op that day with an empty wallet but a determined mind. I didn’t know the seasons of veggies and to be honest, I didn’t really care. I went to the store and bought a seedling biodome, potting soil and a shit ton of popsicle sticks—which are surprisingly hard to find—and got dirty.
Inspired by Sacramento’s own East Sac Farms, owned by Kyle Hagerty (@urbanfarmstead) and Morgan Daily (@dailyflourish), I began the quest to create my own home garden. Perusing seed package instructions for an estimate on planting dates in my region, I began to decipher how much sun each plant would need and the season in which they thrived. This lasted a full four minutes before I decided to just buy one of each package and see what would happen; no one really knows anything about seasons anymore, right? It was 11 p.m. by the time I got home with my new seeds, and my excitement exceeded my need for sleep so I covered the kitchen in dirt and got to work.
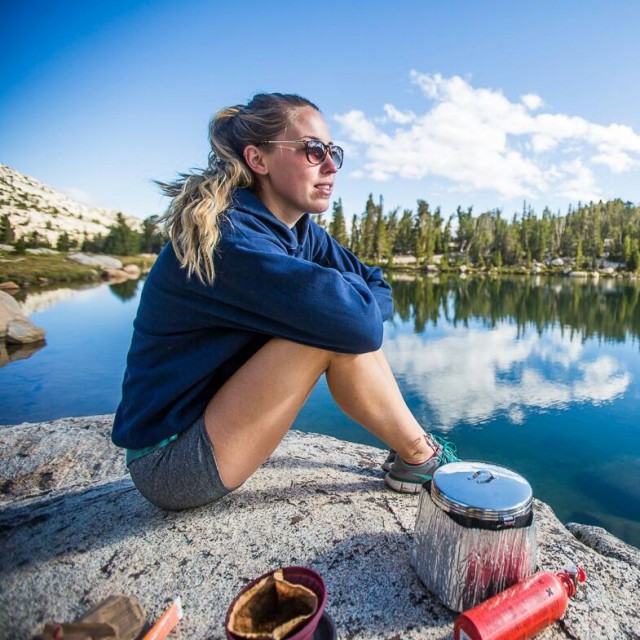
Admittedly, I enjoy being on the road and thus am out of town quite often. This deterred me for years from being a gardener. Turns out, you can still be a transient and have baby plants to care for.

1) Buy (organic) seeds, potting soil, a seedling biodome, biodegradable transplant pots and popsicle sticks.
2) Decide which seeds and how many will be placed in the biodome.
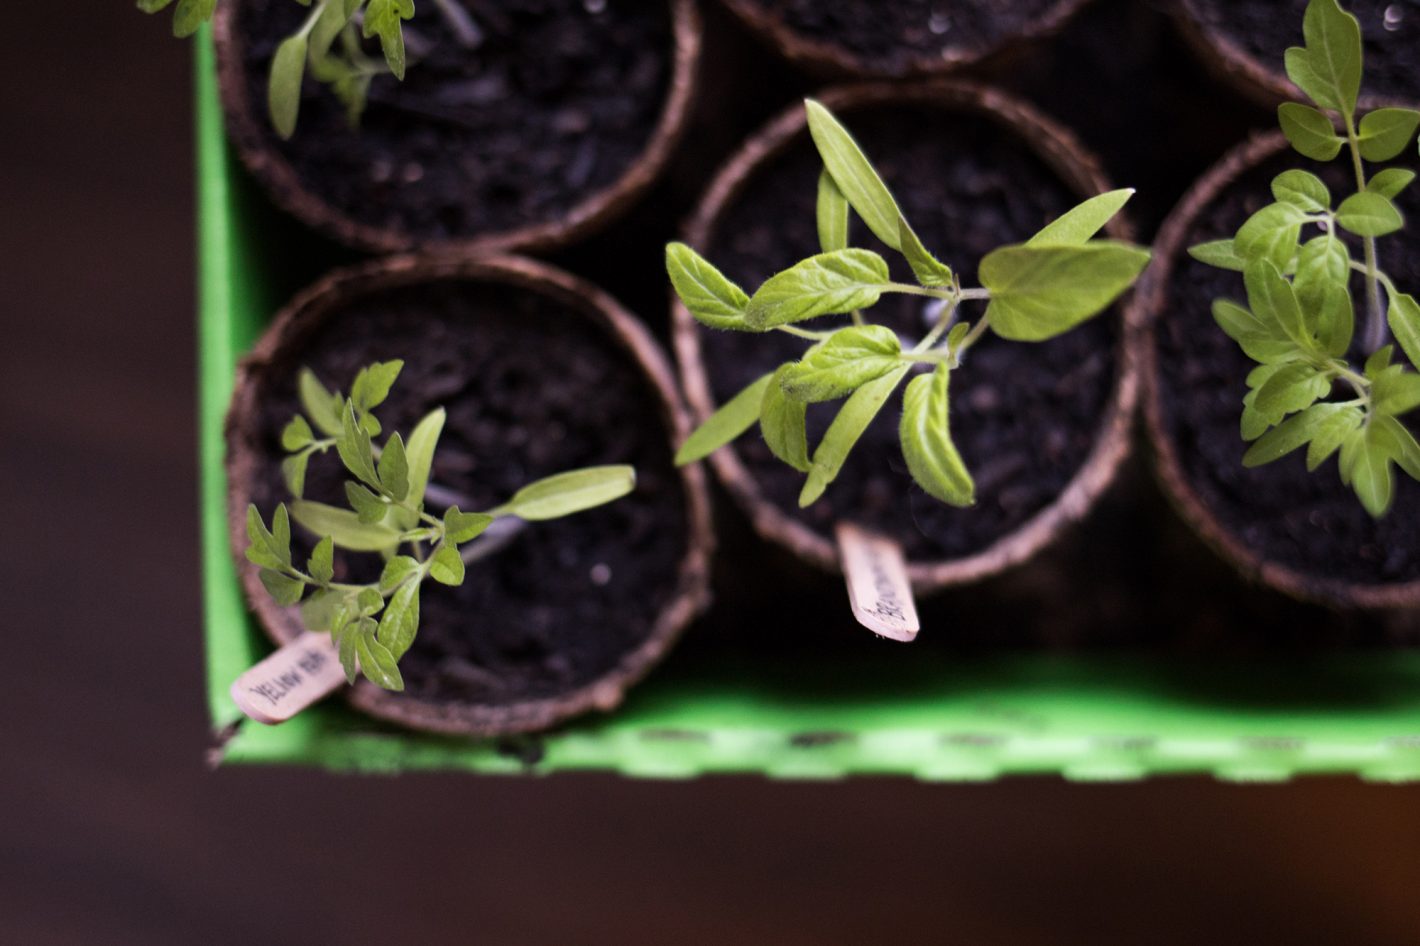
3) Label your popsicle sticks with said seeds (this can be loads of fun if you like typography).
4) Plant seeds into biodome, place labeled popsicle sticks with respective seeds.
5) Water with mister.
6) Patiently wait and keep soil moist.
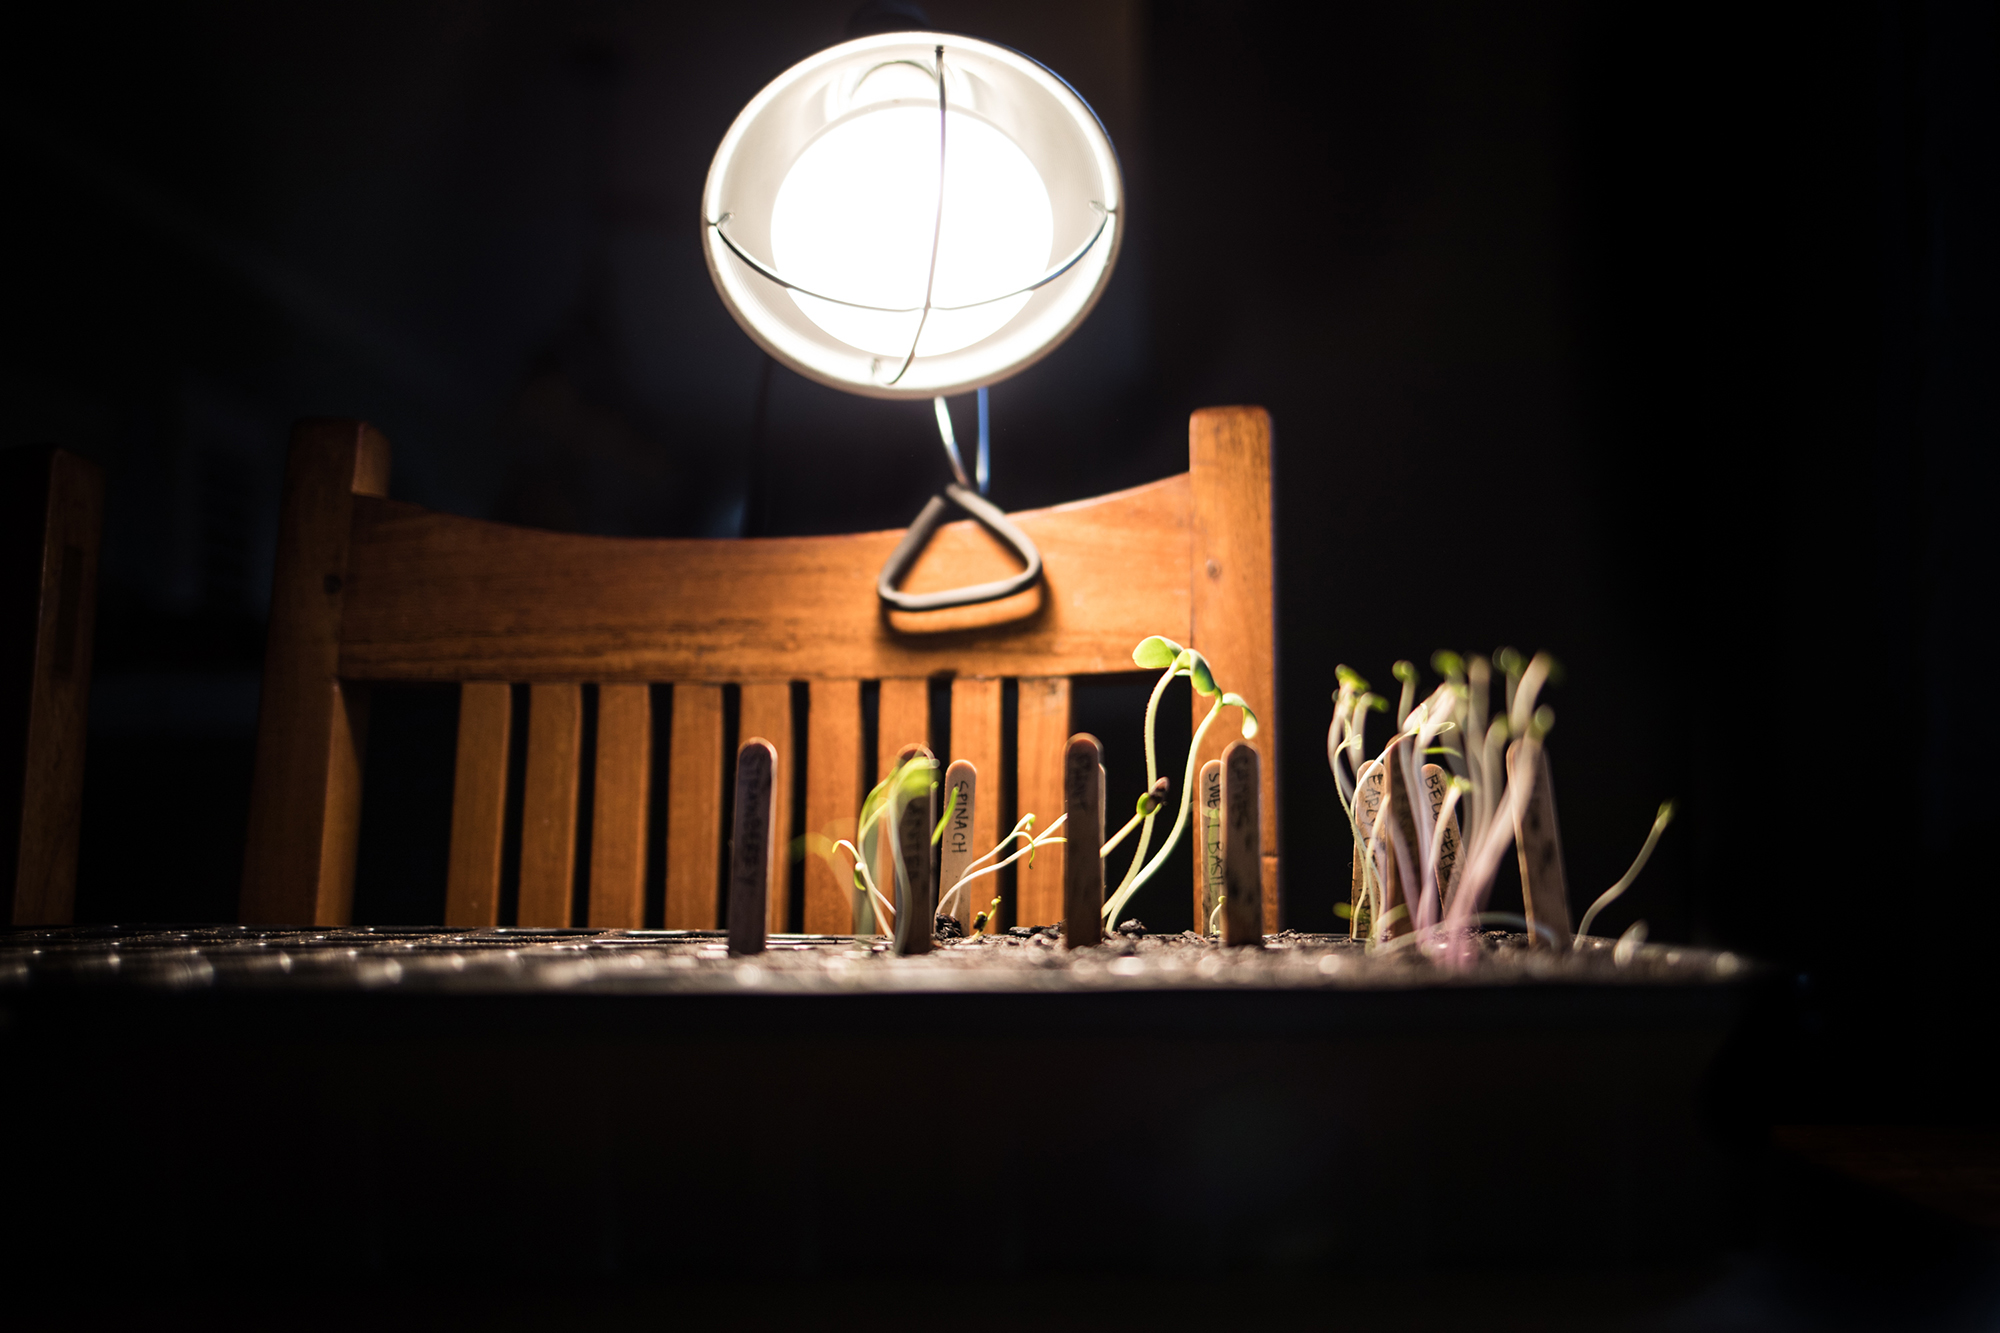
7) Optional step: if it is dark and gloomy, your plants may want a little boost of light. A clamp shop light works just fine for this.
8) Once your plants have their first few “real” leaves, transplant to larger biodegradable pots!
9) Place these all in a sunny spot inside and watch them grow.
10) Once they seem strong and durable, transplant to your outdoor garden, larger outdoor pots or keep inside and voila, you’re a plant parent.
Keep in mind, this guide, along with most of the advice I give to people, comes from a novice. I don’t know all the complexities and science behind all the things I do, but I do know that these things are possible without an extensive background on the subject. Going into this, I knew next to nothing about gardening. Now, outside my 9-to-5, I call myself a gardener, a creator, a mother, a veggie grower.
Some days we don’t want to leave the house and that’s fine, but add some life to your off days and create sustenance for your body. Plant some extra cat grass for the neighborhood cat and keep the large pots away from creatures with digging habits. Award your dog with kale scraps and start building your raised garden beds today. Summer is just around the corner and there are infinite tomato varieties just waiting to be born!
**This piece first appeared in print on pages 10 – 11 of issue #262 (March 26 – April 9, 2018)**
Comments